
GitHub is undoubtedly one of the most popular software distribution platforms and control hosting services. It serves as a host for numerous software programs and codes that stem from different independent developers and software companies. It’s particularly popular among Kodi addon repositories.
You can now install GitHub based repositories into Kodi using the relevant GitHub server. Alternatively, you can install the GitHub Browser in order to access the repositories from the source. Direct repository installation simplifies this process and we’re going to dedicate the following article to showing you how to install Git Browser on Kodi and starting using it to your advantage.
How to Do It
The Git Browser is part and parcel of the Indigo addon. That means you must first install the Indigo Kodi addon through the following process:
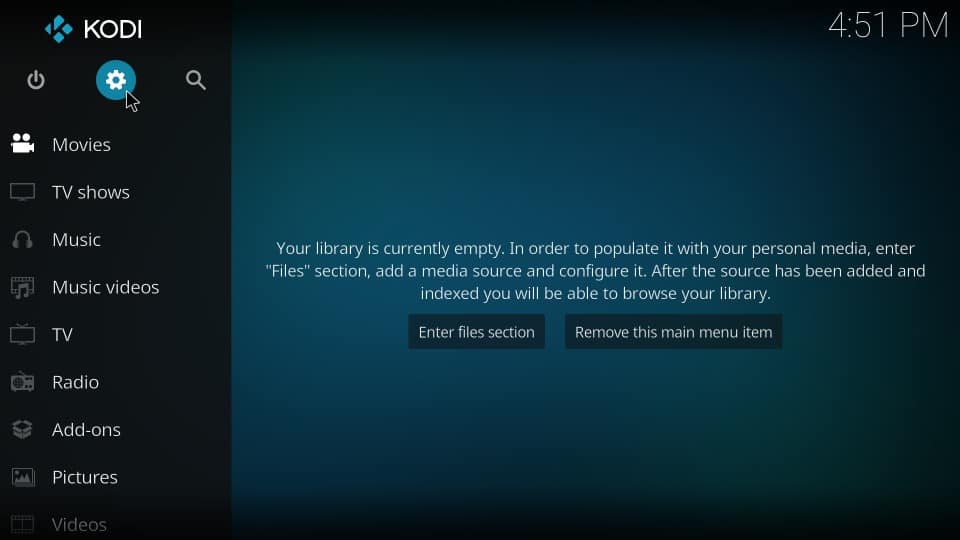
- Run Kodi, go to the home screen and select “settings”
- Click on “systems settings” or simply choose “system” if you’re using Kodi version 18 Leia
- Go to the left side of the screen and click on “add-ons”
- Select “unknown sources” and turn it on
- Wait for the prompt and select “Yes”
Attention: Read before you continue
Governments and ISPs across the world monitor their users online activities. If found streaming or browsing content on your Fire TV Stick, mobile or PC, you could get into serious trouble.
Currently, the following information is visible:
- Your IP:
- Your Country:
- Your City:
- Your ISP:
If this is your real information, you need to use a VPN to protect your identity.
We strongly recommend you to get a good VPN and hide your identity so that your online experience doesn’t take a bad turn.
We use IPVanish which is the fastest and most secure VPN in the industry. It is very easy to install on any device including Amazon Fire TV Stick. Also, it comes with a 30-day money-back guarantee. If you don’t like their service, you can always ask for a refund. IPVanish also runs a limited time offer where you can save 74% on your VPN and they allow you to use one account on unlimited devices.
This is a flash sale that can expire at any time!
1. Install Git Browser from the TVAddons Repository
The first thing you need to do is install the TV Addons Repository. Next, install the GitBrowser in your Firestick by following these steps:
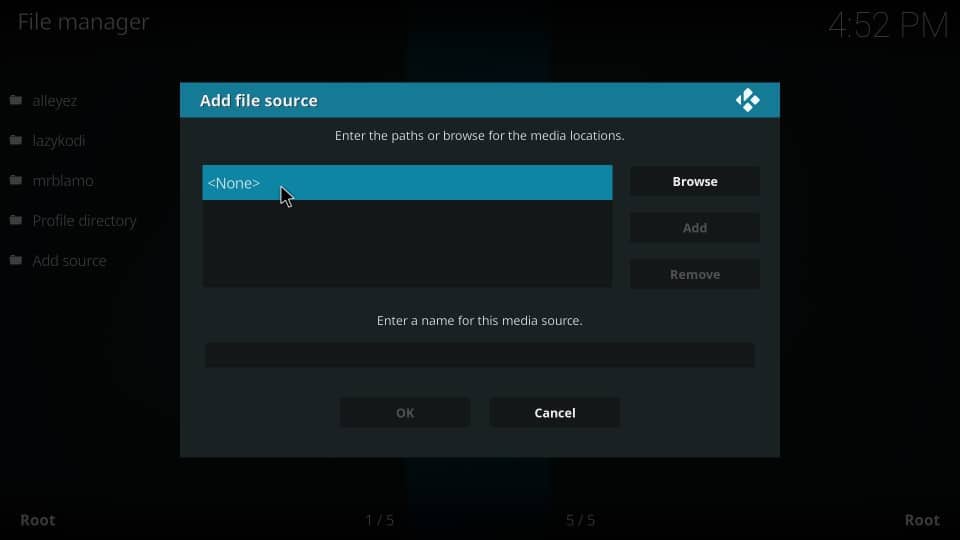
- Go to the Kodi home screen and select “Settings”
- Open the “File Manager” option
- Select “Add Source”
- Click <None>
- Type in http://fusion.tvaddons.co. select “OK”
- Highlight the option that says “enter source name” and input your preferred name. Select “OK.”
- Go to the Kodi home screen
- Select “addons”
- Go to “package installer” and click on the open box icon.
- Select “Install”
- Click “Source Name (followed by the name you gave the source as instructed above)
- Select “Kodi Repos”
- Open the English folder
- Go to the following screen and select “repository.xbmchub-3.0.0.zip”. You’ll see the zip file at the very bottom of the page.
- You should see a notification which says TVAddons.co Add-on Repository Add-on that appears at the stop of the screen.
- Go to the repository and select “Install”
- Select “TVADDONS.co Add-on Repository”
- Select “Program Addons”
- Click the Git Browser
- Select “Install” and “OK” if a Kodi 18 popup appears on the screen.
- There you have it! You’ve just installed the Git Browser addon.
2. Install Git Browser by Using the Indigo Addon
Another way to install Git Browser on Kodi is to follow the above-provided steps until you get to the part where you need to select “source name (insert name).
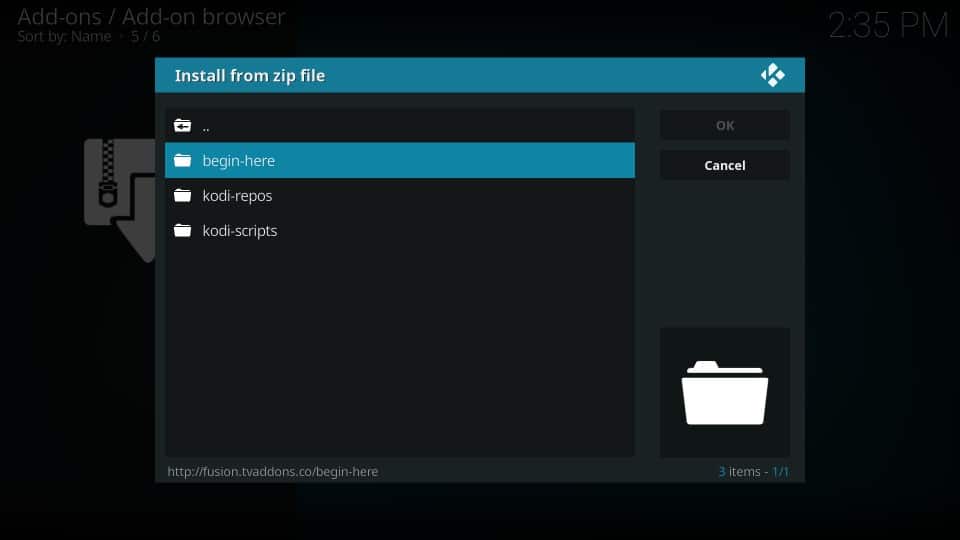
- Click on “Begin Here”
- Select the zip file titled plugin.program.indigo-x.x.x.zip
- Wait until you get a notification that the Indigo add-on has been officially installed.
- Go to the Kodi home screen
- Go to “Add Ons” and then “Program Addons”
- Open the Indigo Kodi addon
- Open the addon installer
- Select “Git Browser”
- Select “Yes” when you get a prompt to do so
- Pour yourself some coffee while Git Browser is installing
- Congratulations! You’ve officially installed Git Browser on your Kodi box!
How to Install GitHub Kodi Addons with the Git Browser
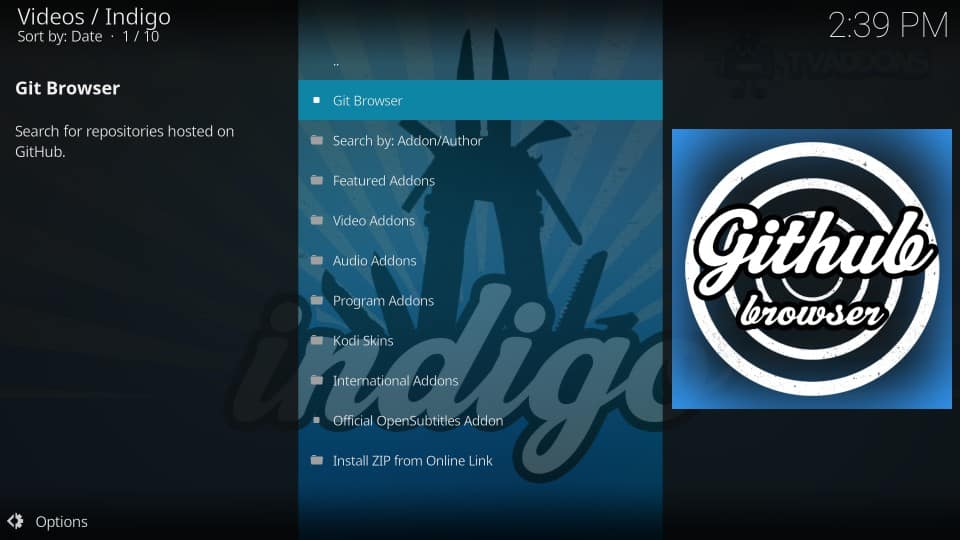
- Find your way to the “Addons” option in the Kodi home screen. Then, click on “Program Addons.” Next, open the Indigo addon.
- Click on “Addon Installer” and select “Git Browser”
- Wait a bit before you click on the ESC key or the “OK” key on your remote.
- Select “search by Github Username”
- Click “New Search”
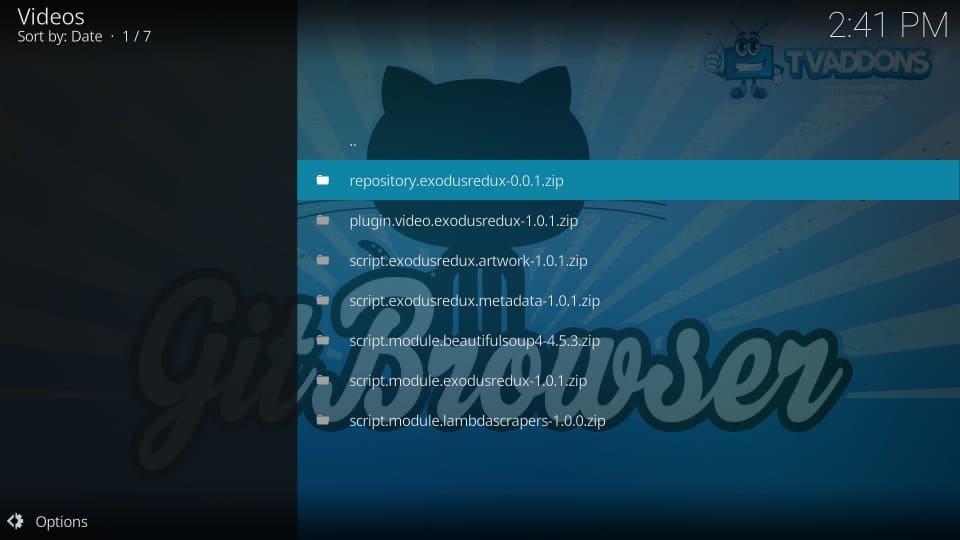
- On the next screen, enter the Github username of the particular repository you want to install on your Kodi.
- Input your Kodi GitHub repository username. Different addons have different usernames. For example, the I-A-C username is utilized for the Exodus Redux addon. Next, select the “repository.exodusredux.x.x.x.zip” file
GitHub is by far the easiest to use for anyone that plans on installing addons and repositories on the platform. It allows you to install the repository straight from the source. It enables you to download both repos and addons and it’s a really decent option.
Did you find this article on how to install Git Browser on Kodi helpful? Let us know in the comments below!