Thanks to the Internet, it’s now possible for pretty much anyone to establish and maintain several identities. On the one hand, you can operate an anonymous website while simultaneously running a workers’ NPO and a fake Twitter account as well. These accounts can all exist individually without tracing back to you or your actual offline identity. But you have to learn how to make anonymous payments with Bitcoin.
The only downside is that in some cases, you may need to spend some cash in order to maintain all these anonymous identities. This has been a hindrance to the people enjoying this freedom – unless you have Bitcoin!
When used right, Bitcoin is a great way to transact online anonymously. We’ll show you just how to do it in the guide below. Here is how to acquire Bitcoins.
By the end of it, you’ll know how to set up a safe online center from which you can browse the net, communicate and trade Bitcoins anonymously. The first thing you need to do is set up an operating system that’s separate from your main OS. Also, make sure it comes with privacy software and use IPVanish everytime you go online. Next, you must set up encryptions keys in preparation for your Bitcoin account. This enables you to transact and trade online without anyone else seeing what’s going on. You can also make anonymous payments with Bitcoin.
Attention: Read before you continue
Governments and ISPs across the world monitor their users online activities. If found streaming or browsing content on your Fire TV Stick, mobile or PC, you could get into serious trouble.
Currently, the following information is visible:
- Your IP:
- Your Country:
- Your City:
- Your ISP:
If this is your real information, you need to use a VPN to protect your identity.
We strongly recommend you to get a good VPN and hide your identity so that your online experience doesn’t take a bad turn.
We use IPVanish which is the fastest and most secure VPN in the industry. It is very easy to install on any device including Amazon Fire TV Stick. Also, it comes with a 30-day money-back guarantee. If you don’t like their service, you can always ask for a refund. IPVanish also runs a limited time offer where you can save 74% on your VPN and they allow you to use one account on unlimited devices.
This is a flash sale that can expire at any time!
1. Download Tails
This is a Linux based OS that you can operate from a USB stick or DVD, which means you don’t have to install it into your PC. It features pre-installed software as well as Tor network traffic routes.
The simplest way for you to get Tails would be to ask someone who has it to transfer it to your USB stick through the Tails Installer program.
Alternatively, you could visit the Tails website and download it straight from there. You’ll get step-by-step instructions on how to verify and install the OS and it’s a pretty straightforward process that needs to be followed patiently. This is the first step to make anonymous payments with Bitcoin.
2. Install Tails
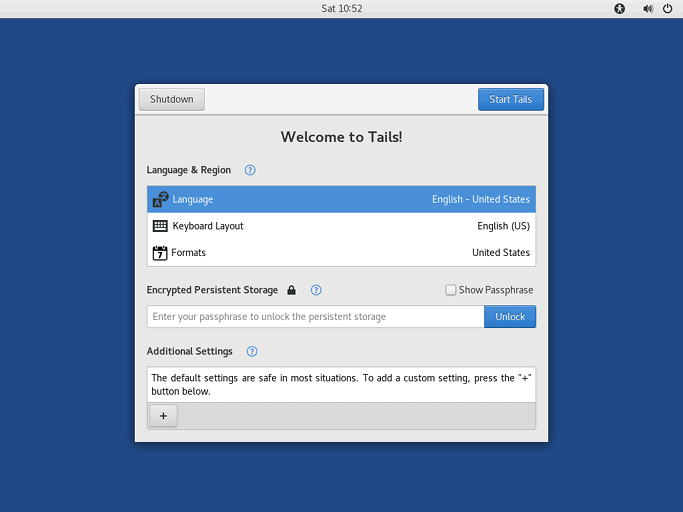
Plug a USB stick into your computer or laptop or put the relevant DVD into the PC drive. Boot up your computer. Most computers will start running Tails automatically, while others require that you enter the BIOS setup. If you come across any difficulties during this stage, go online and search for solutions on “how to enter BIOS” from your specific computer model.
To benefit from Tails, you’ll have to carry out all your online activities within the operating system. This includes browsing the web, typing documents, doing Bitcoin transactions or chatting. Try to focus on the task that’s associated with the particular identity that you’re trying to keep private and don’t stray into incessant Facebook, Instagram or email checking.
3. Enable Persistence
The next step to make anonymous payments with Bitcoin involves enabling persistence. This allows you to save data while using Tails.
To do this, go to “Applications”, click on “Tails” then select “Configure Persistent Volume.” Keep in mind that you must use the Tails Installer program to pre-fill your USB stick with the OS by following the instructions provided above. You’ll find the Tails installer located below the “Applications” option. From there, click on “Tails” followed by “Tails Installer.”
A screen will pop up asking you to create a passphrase. When creating a safe password, it’s important to make sure that it’s long and unique but memorable. That way, it’ll be easier for you to remember it but impossible for anyone else to guess what it is.
You’ll be asked to supply information that Tails must remember. The fewer items you check off on this list the better your chances of maintaining optimal privacy and safety. But this means you’ll have to memorize a lot of stuff and set it up again every time you go into Tails.
A great way to secure your online activity and keep your identity private safe is to use a VPN like IPVanish. We recommend this particular service provider because it offers numerous servers through which you can enjoy an encrypted connection. It’ll protect you from data theft, identity theft, phishing, geo-blocking, and other online cyber-security threats.
4. Install KeePassX

KeePassX is a password manager which you can use to keep all of the important passwords that you use online. To access it, go to “Applications”, followed by “Accessories” and then click on “KeePassX.” From here you can create an all-new password database by clicking on “File” followed by “Create New Database.”
If you’re struggling to come up with good passwords, use Diceware to help you out. This password is the second most important one that you need to memorize. The rest can be created and remembered through KeePassX.
Make sure to save this database under your home folder’s “Persistent” option. Go to the “Add New Entry” button which should be yellow and create your password.
Name this folder and provide the requested information. The button named “Gen” is the most important one and it’s located on the “Repeat” field.
Simply select the “Gen” button and then click on ‘Repeat.” You’ll get a random password. You can still determine its length and the amount of special characters and numbers it has. If anyone is remotely monitoring your screen, the only thing they’ll see is a row of stars. You don’t have to even see it yourself. Simply copy and paste it onto the site when you need it, like when you want to make anonymous payments with Bitcoin.
5. Generate a PGP Key
Now that you’ve made it into Tails you’ll have to create a new PGP key. Go to “Applications”, followed by “Utilities” and then click on “Passwords and Keys.”
Go to the blue symbol located beneath the GnuPG keys and click on it. You’ll be asked to provide your name and email address. You don’t have to provide your real credentials and can use a fake name and email or a real one depending on whether or not you plan to use it in sending and receiving encrypted emails.
Next, create a password for your PGP key using KeePassX and Diceware. This password will be asked for whenever you need to decrypt a file or send an email. Wait for a couple of seconds for your PGP key to show up on your GnuPG key list.
6. Set Up Electrum
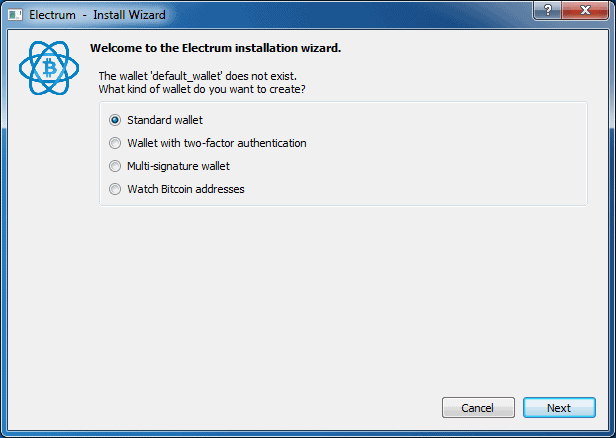
To find your Bitcoin wallet, click on “Applications”, followed by “Internet”, and then “Bitcoin Wallet.” Electrum comes highly recommended because it’s lightweight and relies on several nodes other than a Blockchain copy.
Open Electrum to create a new “standard” wallet. Your wallet seed will appear on the screen in the form of 13 English words. It’s incredibly important to keep this seed VERY safe because if anyone were to gain access to it they’d be able to take your Bitcoin.
To do this, go to the KeePassX database, copy your wallet seeds and paste them into the comment field you see. Alternatively, you could write them down on a piece of paper and keep it in your safe. Whatever you do, don’t store it in an unencrypted file or destination. This step is essential for anyone that wants to make anonymous payments with Bitcoin.
7. Communicate by Using XMPP and OTR
This is a chat program that allows you to communicate online using anonymous email accounts. The only downside to using it is that you can only receive email messages when you’re online.
To access Pidgin, go to “Applications”, click on “Internet” and you’ll immediately see it. Launch the program, add an account and select a protocol, preferably XMPP. You’ll see there’s a wide range of XMPP servers such as dukgo.
To use it, choose a username and password, input dukgo.com and click on the box located next to “Create New Account.” Next, close the window. You’ll get a notification to input your credentials, namely your username and password. KeePassX will come in handy if you need help creating a unique and safe password from scratch.
Now, you’ll have an official [email protected] address which you can use to communicate with your contacts. The great thing about this email address is that it requires your approval before you start communicating with anyone.
Be sure to use OTR encryption in order to chat privately and safely. Select “OTR” and then click on “Authenticate Buddy.”
Alternatively, you could exchange fingerprints with other users outside the chat in order to verify and initiate a chat with them. This function is located under the “Manual Authentication Option.” You’ll find that it’s relatively easy to share your fingerprint with other users by either publishing it onto your website or pasting it onto your message board signature spot.
8. Use PGP to Back Up Things
If you’re going to backup anything, it must be your PGP Key. Make sure to bury it under as much encryption as possible so as to make it impossible for anyone else to access it.
To help you along, go to Diceware and create a super strong PGP Key. Then, transfer the key onto an empty USB stick and hand it to your lawyer or a trusted friend or family member.
You can make several copies just in case the original gets lost or damaged. Even with a securely stored key, you should choose a very long password, preferably with more than 25 characters. That way, even if someone steals your key they won’t be able to guess your password to steal your communications or Bitcoins.
It’s also important to back up your documents, Bitcoin wallets and KeePassX passwords regularly in order to avoid losing them.
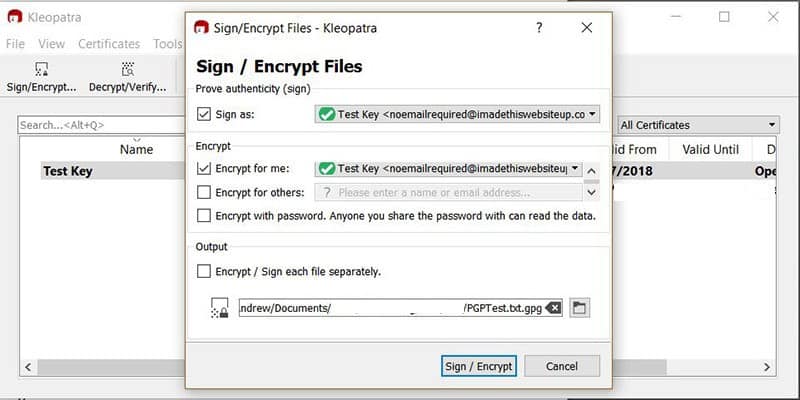
Choose all the folders and files you want to save and backup under KeePassX and Bitcoin. For instance, you could choose the “Persistence” folder and then click on Encrypt on the right-hand side of the page. A pop-up window will appear asking you to state which of your keys you want to encrypt. Choose your personal PGP key.
Whatever you do, don’t click on the sign option until you’re sure that you’re the one who made the backup. If anyone comes across this document and sees that you’re not the one that signed it they’ll know that you’re not the one who made the backup.
If you choose several files to backup, the OS will ask if you’d like them packaged. For the best results, make sure to encrypt them as a single package as this will create less metadata. Instead, it’ll generate a single file that’s easy to maintain.
It might take a long time to process but once your files have been packaged, you’ll see them as two files. One will end with .tar.gz, this is the unencrypted package. The other file should end with .tar.gz.gpg; this is the encrypted backup. Your attention should be on the .gpg file because that’s what you need to save in your USB stick or CD.
To decrypt the file, simply go to the .gpg option, double-click on it and enter your PGP key password. The computer will do the rest.
9. Repeat Again for New Identities
In order to encrypt all of your other identities and keep your files safe, repeat steps 1 to 8. Make sure you have an empty, Tails-enabled USB stick to use for each identity, company, pseudonym or company that you want to control. It’s also important that you keep them separate and don’t label them in any way that might give away their actual purpose. Each stick should contain a unique set of KeePassX databases, PGP keys, and passwords.
Let us know in the comments section down below if this guide helped you!