Plex Media Server is a versatile and useful service, designed for home cinemas. It allows you to stream music, films, TV shows and more, to a wide range of devices. This includes everything from smart TVs to games consoles, smartphones, and more.
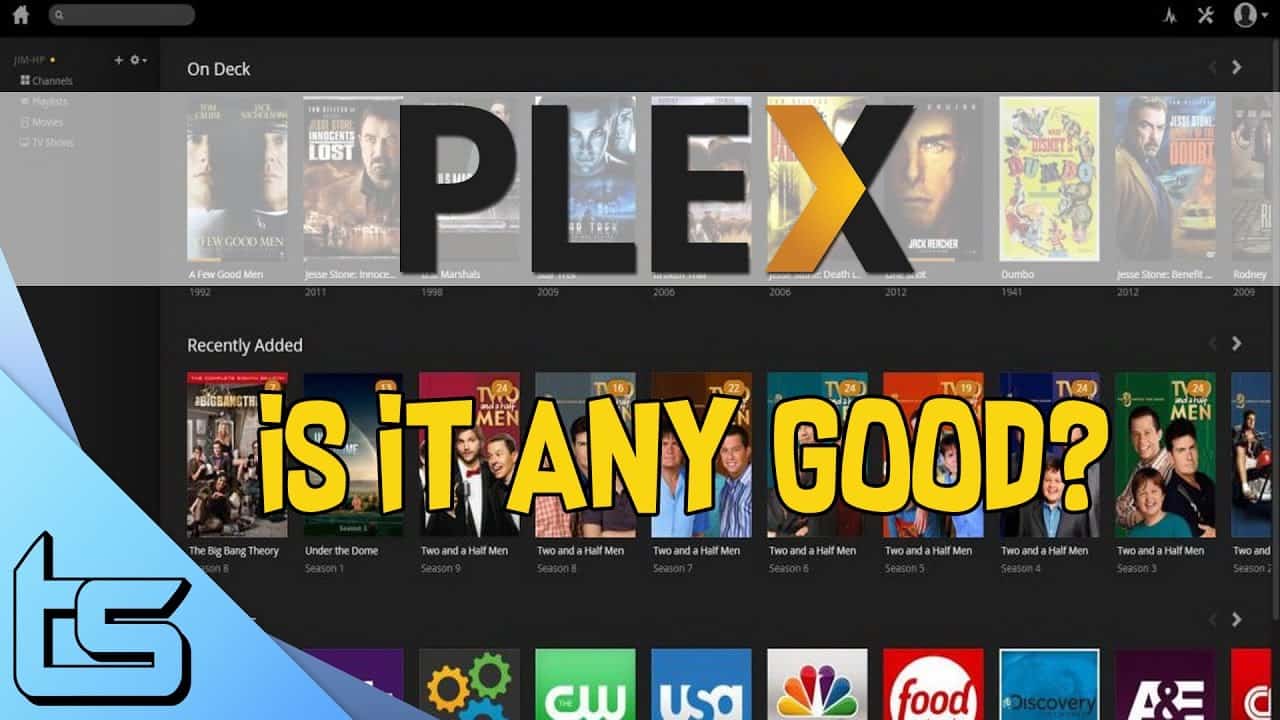
It shows your media to you in an aesthetic and engaging way, with an interface that’s simple to navigate, that also shows reviews, artwork, and various other information.
Because of its versatility, it allows you to begin watching media on one device, and after pausing, allows you to resume it on another. This way you can pick it up from exactly where you left it.
And not only that, but the service is actually free. A premium version is available if you want access to more options and settings.
Follow these simple steps to find out how to use Plex Media Server:
1. Have Digital Files Ready
Plex streams content from NAS devices, so you’ll need the digital files from your PC before this can happen. Software such as Acrok Video Converter Ultimate or DVDShrink allow you to convert your video into digital files, while iTunes can do the same for your music.
2. Download Plex Media Server
You can download Plex Media Server to your computer as that’s where the media is stored. To download it, go to the website, and select ‘Downloads’ from the top of your screen.
Attention: Read before you continue
Governments and ISPs across the world monitor their users online activities. If found streaming or browsing content on your Fire TV Stick, mobile or PC, you could get into serious trouble.
Currently, the following information is visible:
- Your IP:
- Your Country:
- Your City:
- Your ISP:
If this is your real information, you need to use a VPN to protect your identity.
We strongly recommend you to get a good VPN and hide your identity so that your online experience doesn’t take a bad turn.
We use IPVanish which is the fastest and most secure VPN in the industry. It is very easy to install on any device including Amazon Fire TV Stick. Also, it comes with a 30-day money-back guarantee. If you don’t like their service, you can always ask for a refund. IPVanish also runs a limited time offer where you can save 74% on your VPN and they allow you to use one account on unlimited devices.
This is a flash sale that can expire at any time!
3. Create a Plex account
After following these steps, and downloading Plex Media Server to your laptop or PC, you’ll have to sign up and make a Plex Account. This can be done simply by clicking the ‘Sign Up’ link on the website.
4. Open Plex Server
After signing up and signing in to your account, open the Plex Server, then add your chosen media. You can do this by clicking ‘Launch’ on the website. Alternatively, you can view this by right-clicking the Plex icon on where it’s displayed on your Windows 10 computer.
5. Organize Your Files
Organize your computer’s files so the correct file type is in the corresponding folder. For example, your music should be in the folder labeled ‘Music’, and your videos in the folder labeled ‘Videos’.
In the ‘Video’ folder especially, separate your movies and TV shows into separate folders with corresponding titles. As for music, each of the artists and albums will need to be put in separate folders too.
6. Add Your Own Media Files
Within Plex Media Server, you can specify exactly which folders contain which types of media. To keep your library regularly updated, click on ‘Settings’, then ‘Server, then ‘Library, and select the option for Plex to update your library. Then click, ‘Save Changes’.
7. Play Them by Using the Web Player
With Plex’s Web Player, you’re able to play your media using your ordinary web browser. From your home screen, simply select which category of media you would like to play. It’ll display which films, shows or music have been added. It’ll also display some information about the media, such as details, ratings and the file size and resolution.
8. Stream to Other Devices
One of the best features of Plex Media Server is the ability to stream media on other devices. This includes games consoles, Smart TVs, and Google Chromecasts. On your chosen device, open the app store and download the Plex app. After you’ve downloaded it, sign into your account to see your media library!
9. Take Advantage of More Features with a Plex Pass
If you’ve figured out how to use Plex Media Server in a way that suits you, you might want to consider getting a Plex Pass. With a Plex Pass, you can get even more. For a monthly payment, you’ll gain access to things like Vevo Music, smartphone capability, and auto camera uploads from a mobile device.
10. Enjoy the Experience
After all this is done, your media will be added into the Plex Media Server, and you’ll be able to stream to various devices at home, at work, or elsewhere. If you’ve understood these steps, hopefully, you’ll know how to use Plex Media Server!
Despite how simple this app is, it boasts a huge range of possibilities for media enjoyment, and is a perfect addition for those who watch on TVs, PCs, laptops, or mobile devices. If you haven’t already downloaded it, give it a go!
Have you tried Plex Media Server? If so, how did you find it? Leave us a comment below!