Get the Biggest Discount Ever with These IPVanish VPN Registration Tips

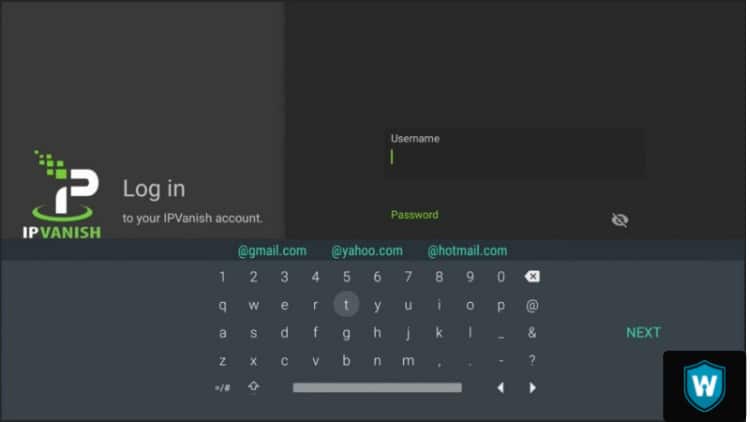
New and seasoned cord-cutters know all about IPVanish. In fact, I’d go as far as to say that it’s the preferred VPN for cord-cutters everywhere and for good reason. And to help you get started, we’ve got some helpful IPVanish VPN registration tips that you can use.

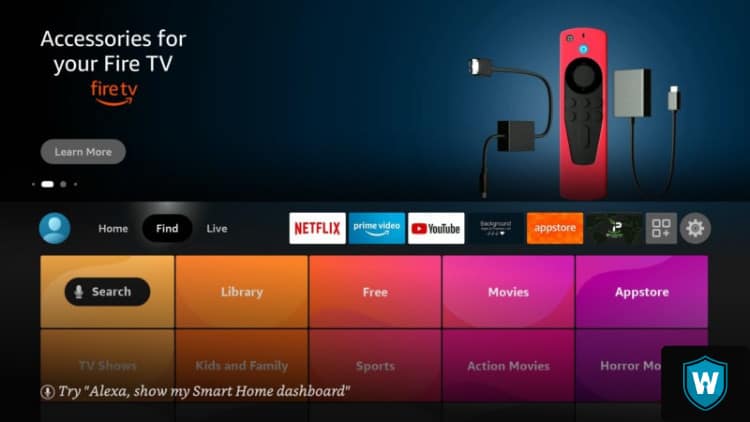
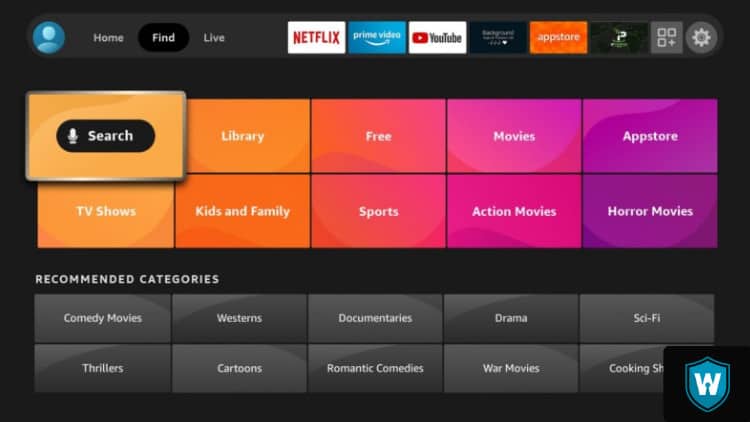
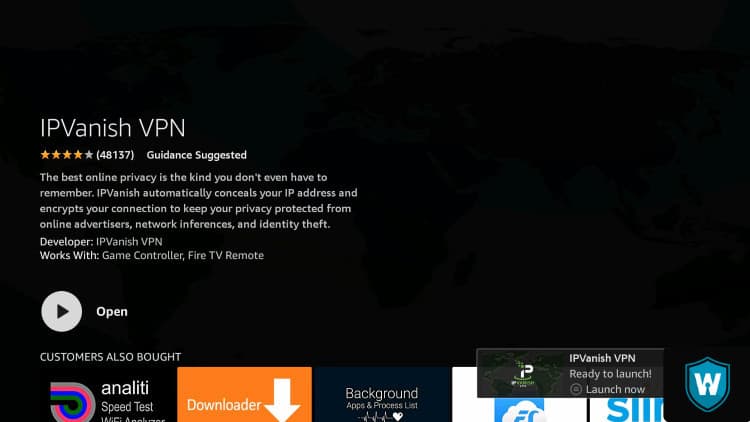
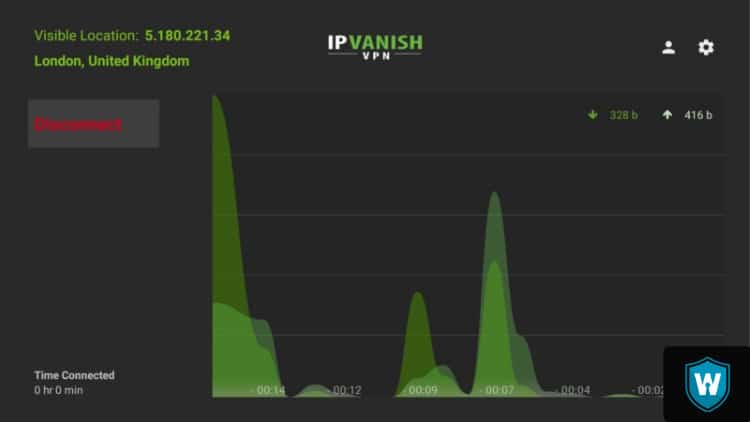
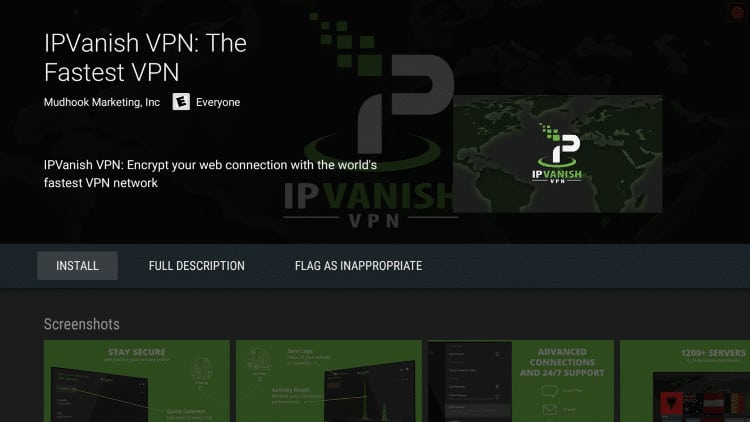
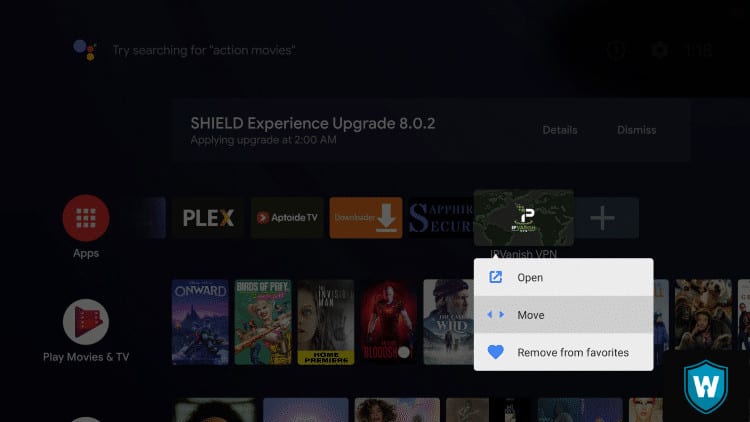
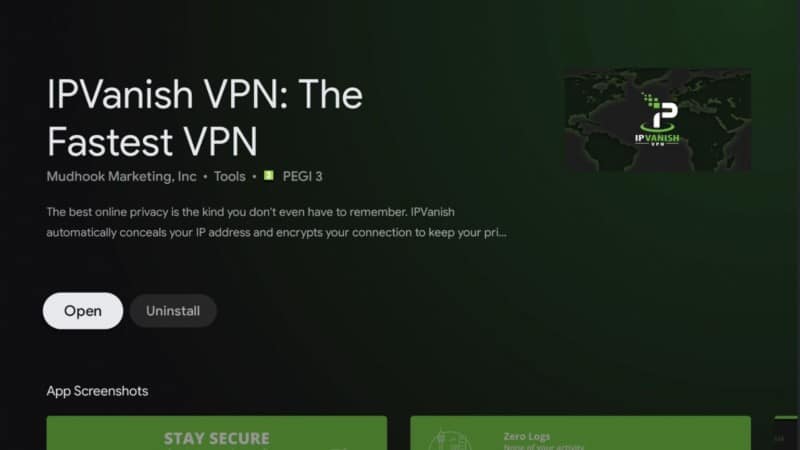
What makes IPVanish so sought-after is the fact that it offers fast streaming speeds and it’s compatible with different operating systems including Mac, Windows, Linux, Android TV boxes NVIDIA Shield, Fire TV, and Firestick, as well as on mobile devices like smartphones and tablets.

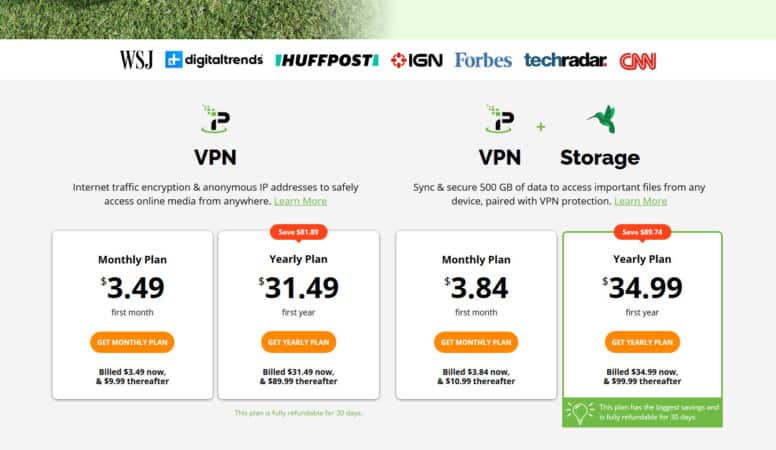
Not only that, but IPVanish is currently offering a massive discount on their annual plan. You can now get it for only $31.49. If that’s not a steal, we don’t know what is.

Think about it; you’re only paying $2.62 a month for the best online protection and performance boost available. This is in addition to their generous 30-day money-back guarantee.

Find out all you need to know in our guide on IPVanish VPN registration tips.

IPVanish VPN Packages

To view all of IPVanish’s available packages, visit their website at www.ipvanish.com.

Get the IPVanish VPN with SugarSync Storage

Their best deal is highlighted in green and is referred to as the VPN + Storage option. It comes with up to 500 GB worth of cloud storage for just 3 bucks.

But, for even less than that, you can get one of their simpler VPN-only plans which are located on the left-hand side of the page.

IPVanish VPN Monthly vs. Yearly Plans

Next in our IPVanish VPN registration tips, be sure to pay attention to the black font written in bold underneath each package.

For instance, the bold print under the Monthly plan explains that although you’ll initially only be billed $3.49 the first month, your premium will go up to $9.99 after that.

This amounts to $113.38 annually. That’s why we recommend you just go for the Yearly Plan which is $31.49 for the whole year.

Simply click on your preferred option in order to reach the payment page to complete your translation before you install the IPVanish VPN on your device.

Luckily, our IPVanish VPN registration tips also include advice on how to install your VPN properly. Remember, IPVanish is compatible with all types of different operating systems and devices, which is great.

How to Install IPVanish VPN on Your Firestick and Fire TV

Our IPVanish VPN registration tips wouldn’t be complete without showing you how to install IPVanish on a Firestick TV device:

1. First things first, register for an IPVanish VPN account using this link

2. Go to the Home screen and long-press Find

Find on Amazon Firestick

3. Navigate to the bottom of the screen and hit Search

search on Amazon Firestick

4. Input “IPVanish” and select the first option that pops up

IPVanish on Amazon Firestick

5. Select the IPVanish VPN app

IPVanish app Amazon Firestick

6. Hit Download

download IPVanish app Amazon Firestick

7. Select Open after installing the IPVanish app

open IPVanish app Amazon Firestick

8. Input your IPVanish credentials and hit Log In

login IPVanish app Amazon Firestick

9. Click Connect

connect IPVanish

10. Hit OK

connection request IPVanish

11. You now have IPVanish VPN officially installed on your device and connected to another visible location

IPVanish connected

How to Install IPVanish VPN on Your Android TV Box

For IPVanish VPN registration tips on how to install this VPN onto an Android TV device, keep reading:

1. Use Discount to Register an IPVanish VPN Account

2. From your Android TV Box, go to the Google Play Store

Google Play Store on Android TV Box

3. Select the search icon

search on Android tv box

4. Input “ipvanish” and select Search

ipvanish on Android TV Box

5. Hit IPVanish VPN

ipvanish vpn on Android box

6. Click Install

Install Vpn on Android tv box

7. Give it a few seconds to install

install ipvanish vpn on Android tv box

8. After installing the IPVanish VPN go back to the home screen and navigate to the right-hand side of the page. Hit the + icon to instantly integrate IPVanish to your favorites.

add to favorites Android tv box

9. Click IPVanish VPN

select ipvanish app

10. Long press the OK button and select Move

move Android tv box

11. For easy access, move the IPVanish app to the home page of your apps list and hit Open when your click on the app

open Ipvanish on Android tv box

12. Use your credentials to log in to IPVanish

Log in to IPVanish

13. Click Connect

14. Select OK when you see the message below

connect ipvanish on android tv box

15. There you have it! After following our IPVanish VPN registration tips you’ve now officially installed the IPVanish VPN on your NVIDIA SHIELD device.

We hope our IPVanish VPN registration tips were helpful and that you’ll be able to take advantage of IPVanish’s lowest price ever. Take advantage now before it’s too late. If you have any question, please let us know in the comments section. Thank you!

open

🚀SAVE 74% on IPVanish!

START NOW!