In this IPVanish VPN guide, I’ll show you just how you can supercharge your IPVanish VPN to get the ultimate performance and even make good use of some of the great features of the VPN to enhance your online streaming and overall browsing experience.
Now for those who have never used IPVanish before, keep in mind that this is a premium VPN service with a high-level encryption to the Internet that obfuscates your real IP address and identity. This way, you can browse and do other things online completely anonymous to prying eyes.
Maintaining your anonymity through high-level encryption is extremely important especially when using any form of streaming apps or any type of IPTV service.
You have probably installed IPVanish but if you haven’t done it yet, let’s quickly go over the IPVanish installation setup process.
How to Install IPVanish VPN
The installation process we will discuss below works for Amazon Fire TV Stick 4K as well as other streaming devices including NVIDIA Shield and Android TV Box.
Keep in mind that you must also have first registered for an IPVanish VPN account. You will find a link below this post that you can simply click to open your IPVanish account. You will also get a huge discount when you open your IPVanish VPN account by clicking the link below.
So, after you have opened your account, you can proceed to install through Amazon App store.
The good news is that IPVanish provides optimized applications for Amazon Fire TV, Android TV Boxes, as well as tablets, phones, Windows, iOS, Linux, and Mac OS platforms. You can also use your IPVanish account on unlimited devices to ensure that all the devices you use to connect to the Internet are always protected.
So, if you’re on Fire TV Stick, just hover the mouse over Find.
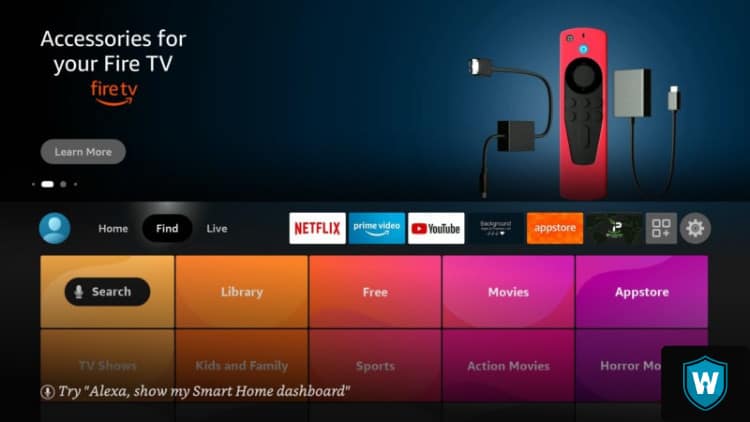
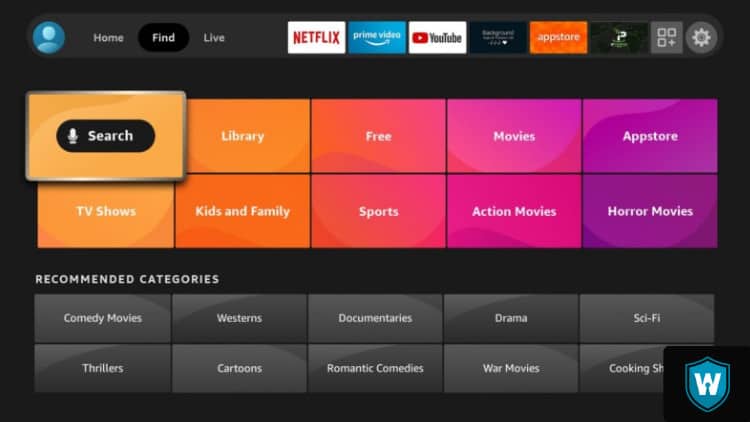
Move down to Search.
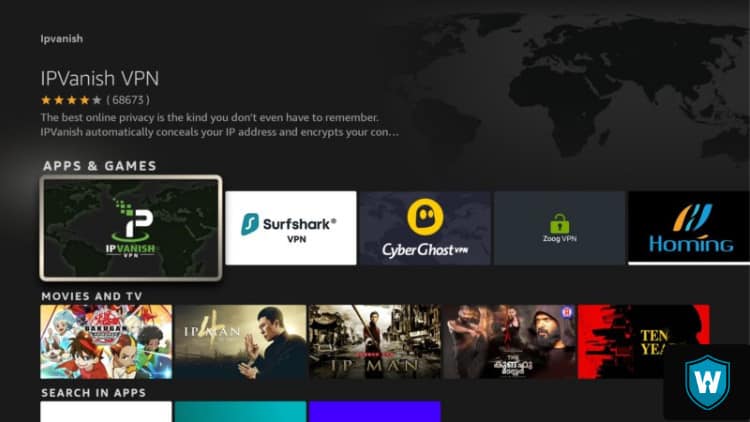
Type in the search box “IPVanish.”
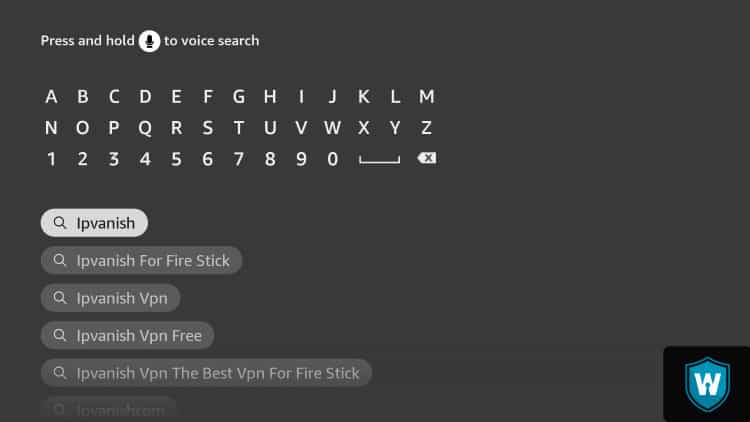
Simply highlight IPVanish, click the select button and you will see IPVanish under the Apps and Games section.
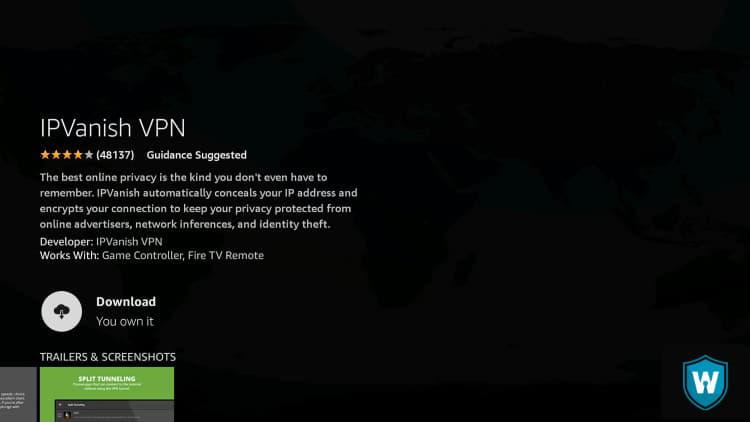
Go to Download.
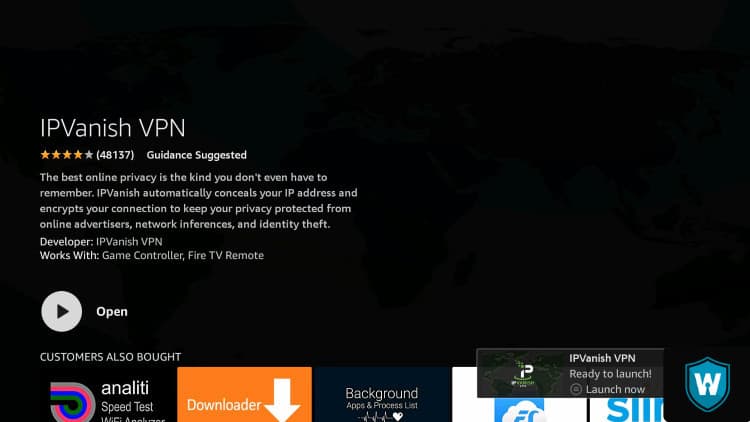
Open the IPVanish app right away.
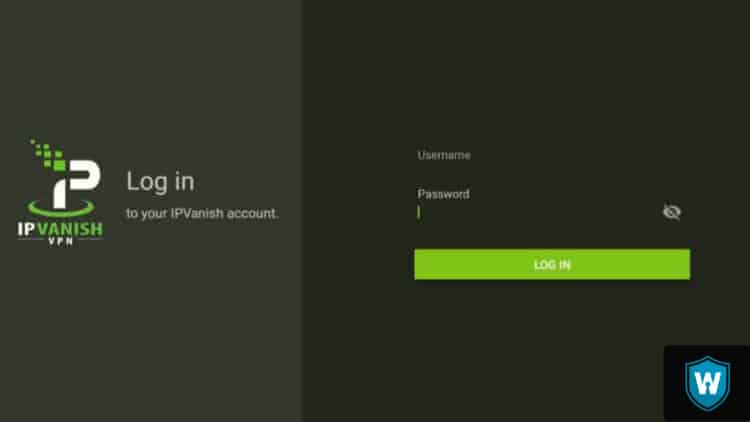
Log in using your email and password. But, skip this step for a moment and go back to home screen.
Download and Install Analiti Speed Test
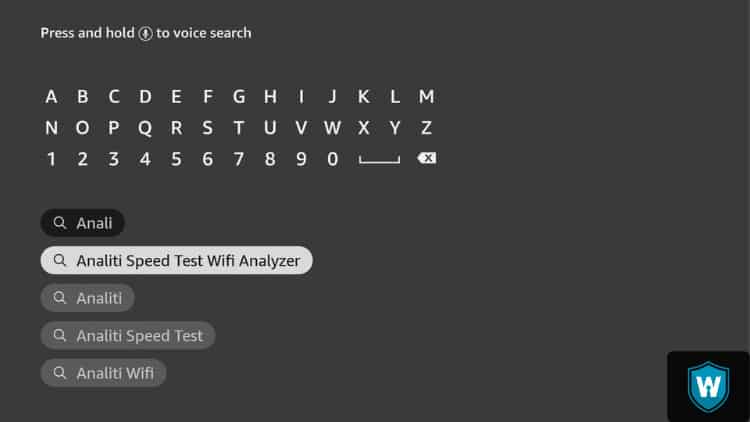
Go back to Search because there’s another application that you need to install. The application is none other than the Analiti Speed Test Wifi Analyzer. This application will allow us to fine-tune IPVanish and ensure that we always get the best download speed and performance when we’re connected. So, enter Analiti in the search box just like you did when searching for IPVanish.
What you’ll be looking for is Analiti Speed Test WiFi Analyzer. It will immediately appear below the keyboard after you type the first few letters.
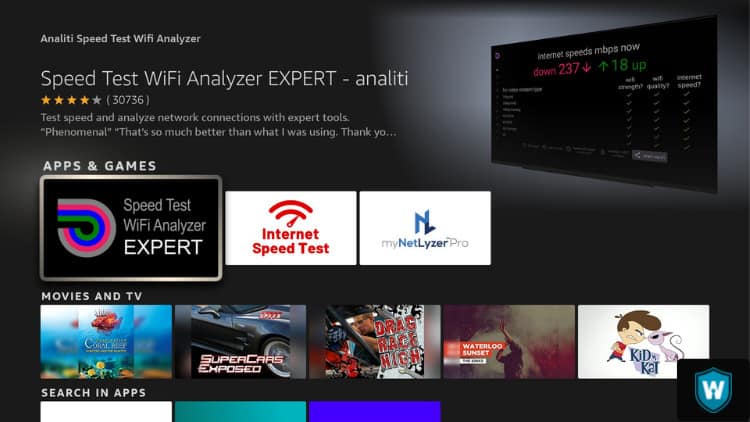
After you click the app, it will show up in the Apps & Games section.
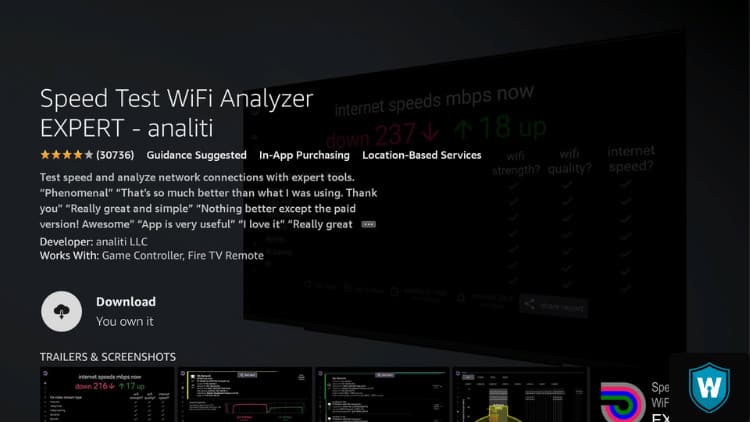
Click Download and it will automatically download and install on your device.
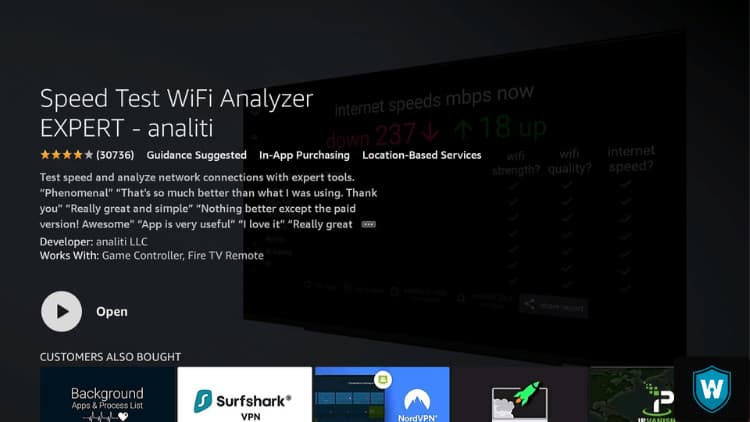
After the speed test has been installed, click the home button on your remote to go back to your home screen.
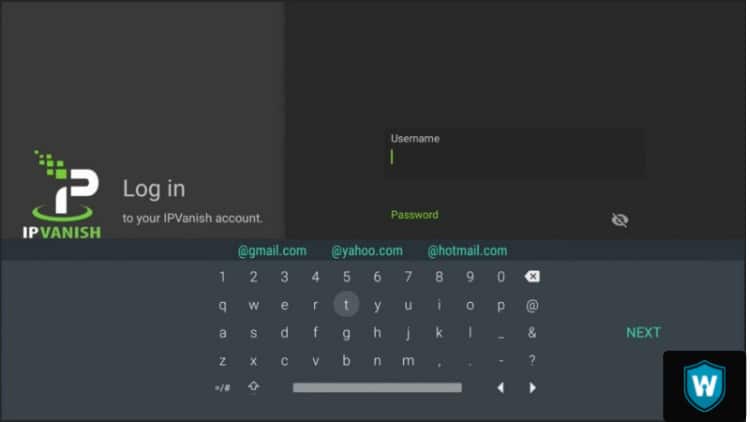
Click IPVanish and launch it. If you’re doing it for the first time, it will ask for your username and password of your account. As I said, you must first register for an IPVanish account to get these login details. After you register, IPVanish will send you an email with the login details.
So, enter your username and password by typing in the credentials with your remote. Your IPVanish username is basically the email address that you registered your account with. After you type in your username, click next and type in your password to log into your IPVanish VPN app. Click the Next button and you’ll be logged in.
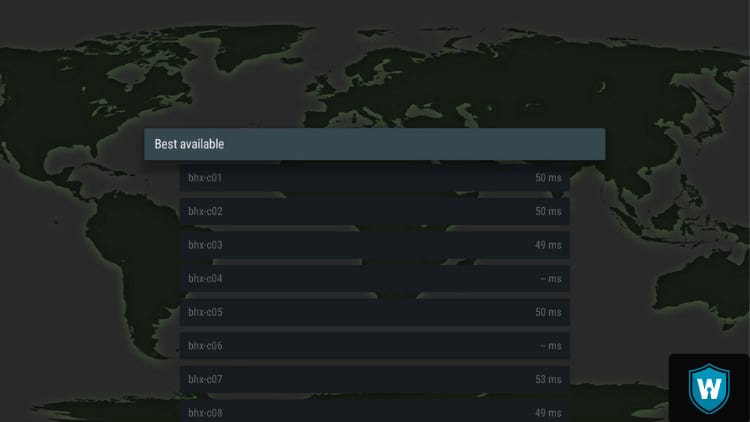
Connect to a server that is closest to your location, which will give you the best speed. Choose a server located in a country and city closest to your location. Leave the server option to Best Available.
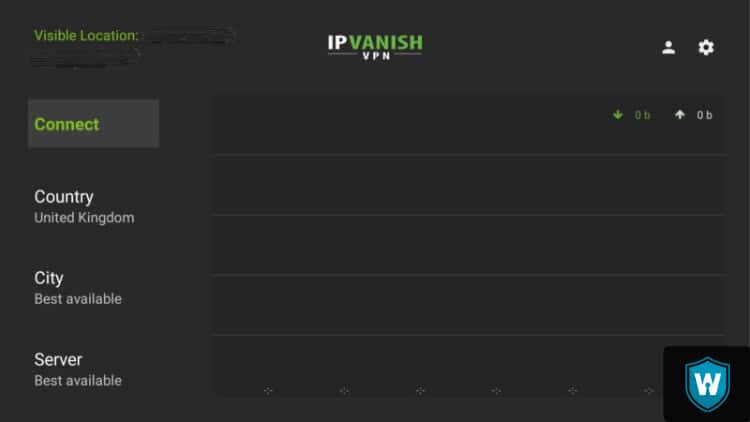
You can then hit Connect.
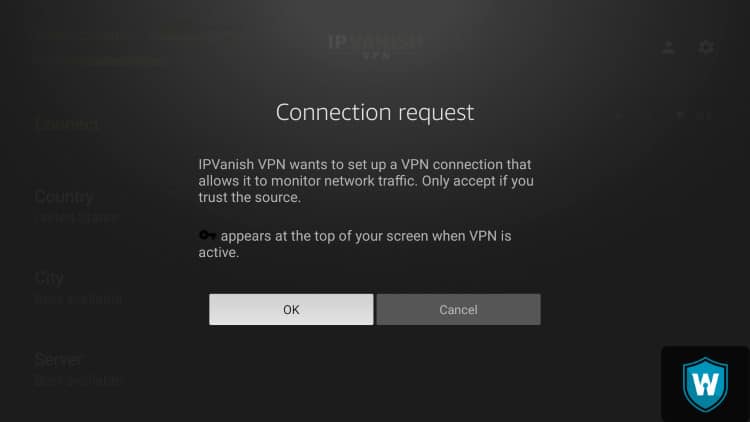
The first time you connect to IPVanish, you will get a message or prompt so just click OK and proceed.
Once connected you will notice your new IP address, city, and country depending on the server you choose to connect to.
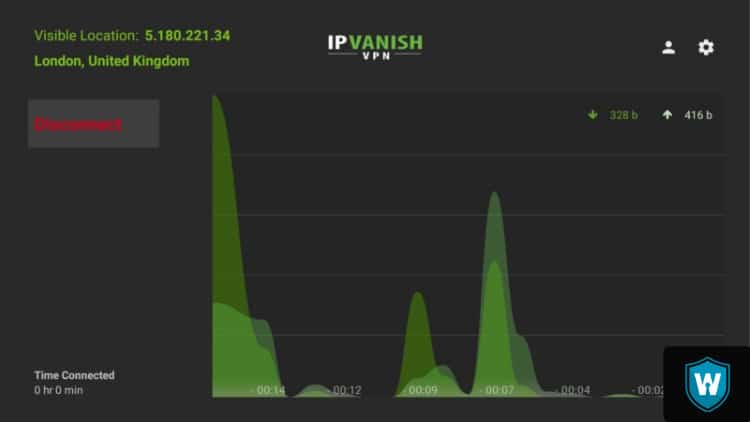
IPVanish VPN Settings
Once you’re logged in and connected, you’ll notice on the top left-hand corner your visible location. Your IP address will be listed there too.
The first thing you’ll need to do is to go to the top right-hand corner of the screen and click the universal Settings gear icon. It will open the Settings Panel. There are several types of settings in this section that you can tweak to improve your IPVanish experience.
Let’s take a brief look at each of these settings:
- Start IPVanish will launch the VPN automatically when your device starts or boots up. I recommend that you have this option checked on your device.
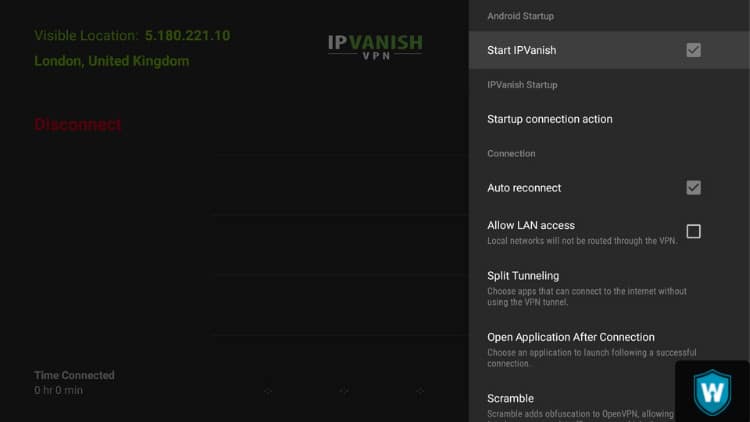
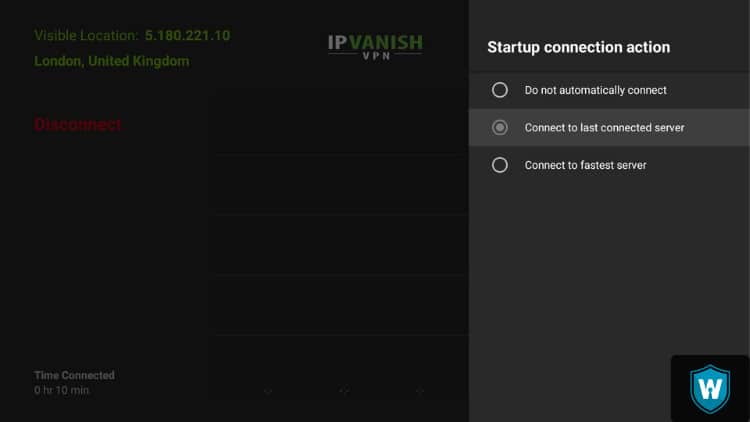
- The Startup Connection Action tells the VPN what to do when it starts.
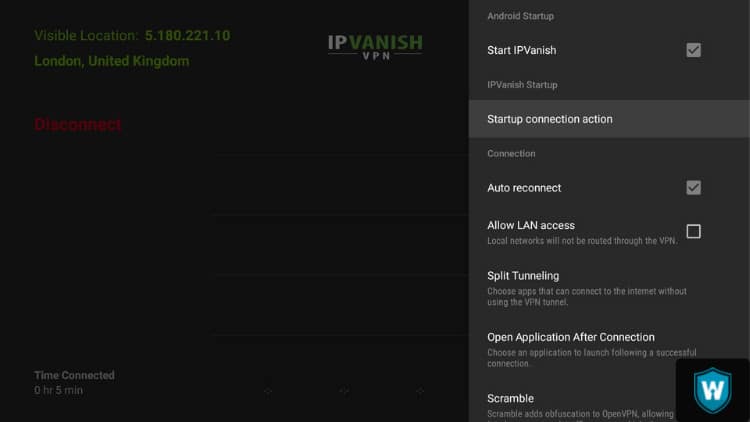
You’ll want it to connect to the last connected server.
- Keep the Auto Reconnect checked too. This is because if IPVanish disconnects for any reason it will automatically reconnect when you have this option checked.
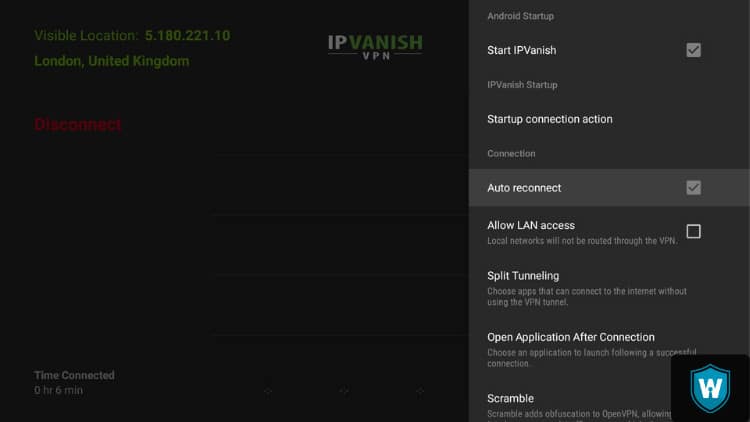
- Allow LAN Access is important when you have devices such as your home computer connected to your Internet router. If this is the case, then check Allow LAN Access.
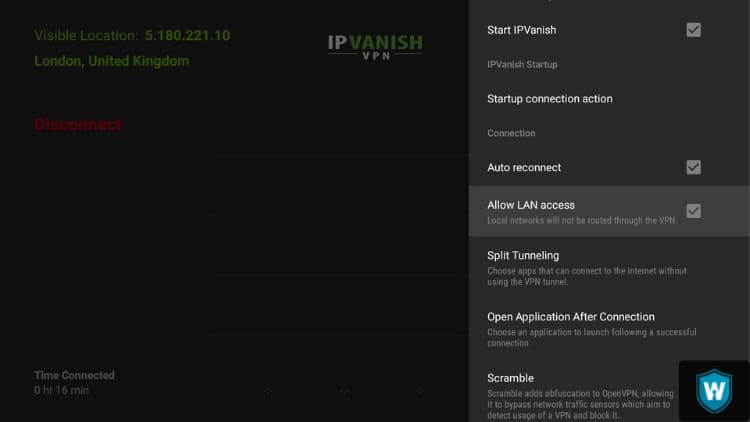
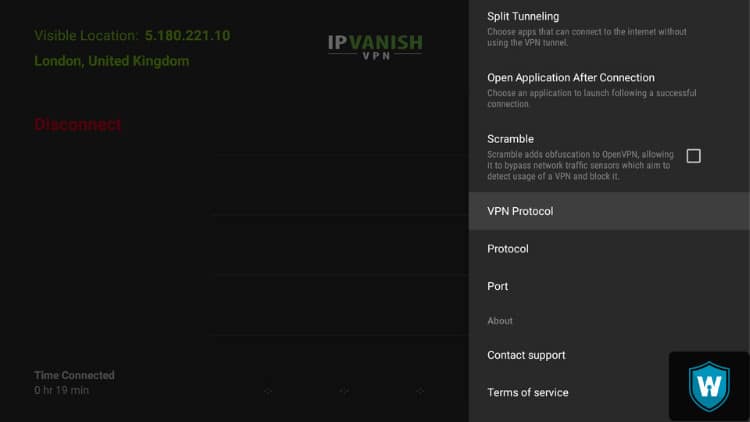
- Split Tunneling allows you to bypass VPN connections for selected applications that don’t need a VPN to work. For example, Prime Video blocks many VPNs so instead of coming back to the VPN every time you need to use Prime Video to disconnect before going back to Prime Video, you can simply use split-tunneling to avoid using the VPN for Prime Video and other specific applications. IPVanish even has a useful tab that identifies services that can cause problems when accessed via a VPN. So go ahead and check the services that don’t require VPN such as Prime Video.
Here is a full article on how to use watch Amazon Prime Video using IPVanish Split Tunneling.
- Open Application After Connection automatically launches an application after it has connected to the VPN. For example, if you use IPVanish for just one application, then leaving the application checked will automatically launch the application as soon as the VPN connects. You don’t really need to turn this option on if you use multiple applications with your VPN.
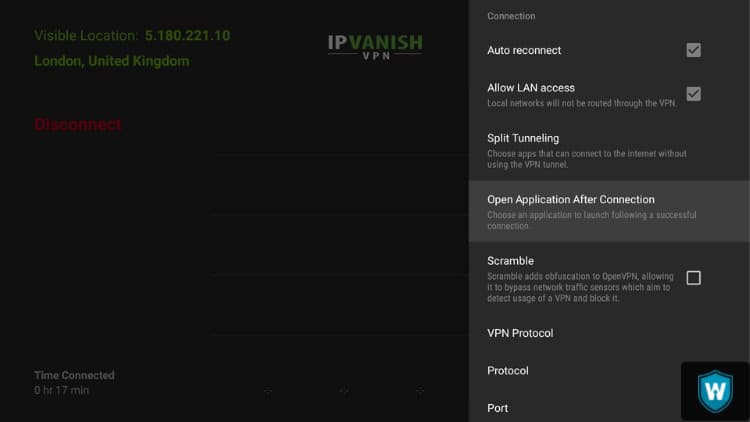
- The Scramble option tries to get around services and websites that are known to block VPNs. It actually slows down your connection and doesn’t really work well so leave it unchecked.
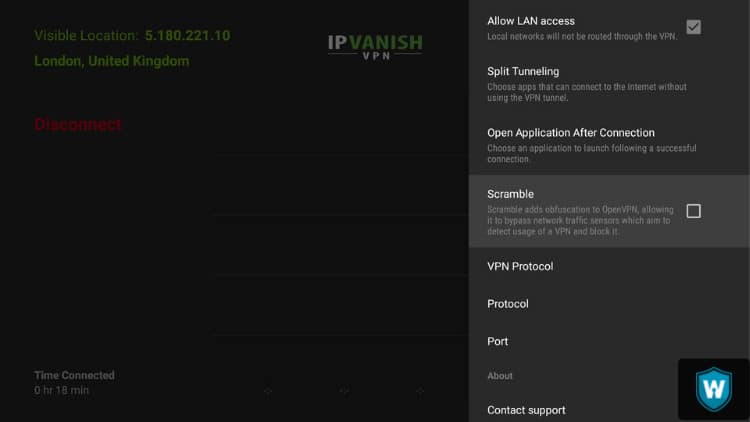
- For VPN Protocols you have two options namely OpenVPN and IKEv2Beta, which is faster so I recommend that you choose IKEv2Beta.
When you click the home button, the VPN will continue running and protecting your real identity in the background.
Use Analiti to Find the Best Settings with the Highest Speed
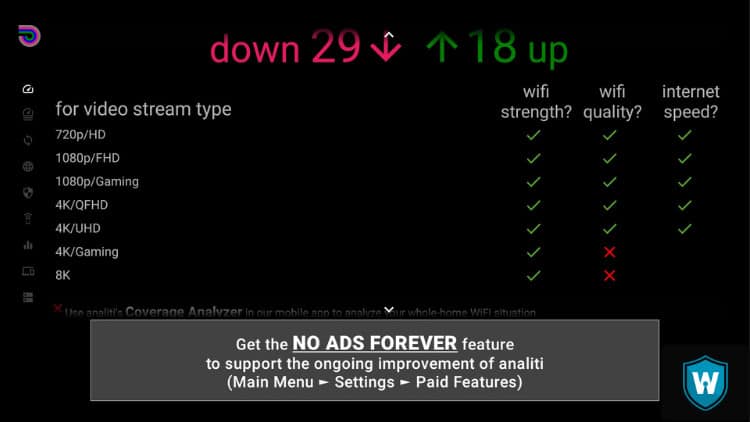
The next thing we’ll cover in this IPVanish VPN guide is to open Analiti Speed Test WiFi Analyzer and run a speed test.
You will notice that you are getting a decent speed based on your connection speed. Another good thing about Analiti is that it shows you what you can stream with your current speed. However, you only need 20 to 25Mbps to stream 4K quality or lower videos.
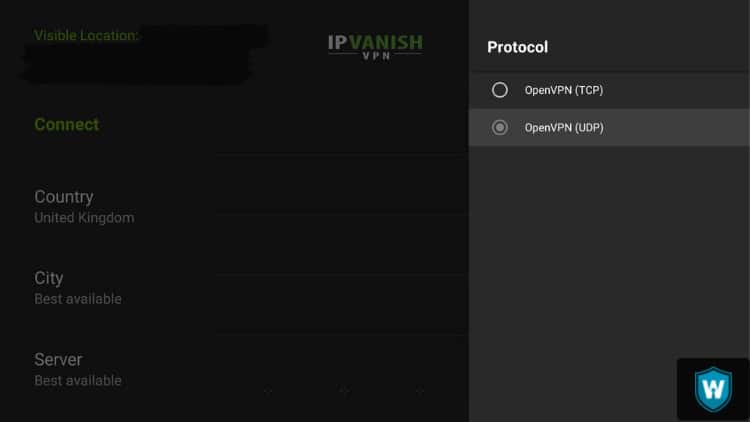
Go back to IPVanish and fine-tune a few more things to improve speed. Go back to the Settings tab, Protocol and choose OpenVPN(UDP).
Run another speed test using Analiti and you’ll notice a significant improvement. You can even stream 4K videos now. By simply changing the protocols, you have significantly improved your IPVanish speed.
You can go back and check how much speed the other protocol which is TCP will give you. You will notice that TCP gives you even better download and upload speed. This is a really significant improvement.
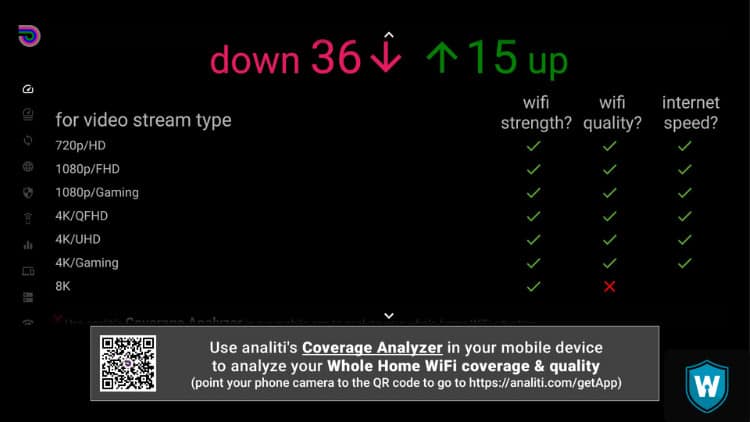
Keep in mind that the speed you get will still depend on the speed of your Internet connection but focus on getting the highest possible VPN speed when connected to IPVanish. Note that the settings that will give you the best possible speed and leave them checked on your device.
I hope this rather detailed IPVanish VPN guide will help you get the best streaming experience when you’re connected to IPVanish VPN. If you have any question, please drop us a comment down below.
